Upgrading the Fujitsu U2010 with a new 120GB SSD

Lately my Fujitsu U2010 was running low on disk space. Having already maxed out the SD card slot with a 32 GB SD card, the only way to go was to replace the internal ZIF-PATA drive. The first generation 64 GB Samsung SSD that I moved from my previous U810 to the new U2010 (see here) is no speed demon but a very reliable and robust performer featuring SLC flash memory. Naturally, I was looking for a faster, bigger and cheaper replacement drive. There are some more 1.8″ 128 GB ZIF drives available, most of them are MLC-based drives well over the 300 Euro price range. I came across a pretty cheap drive produced by a company called Mach Xtreme Technology, a newcomer in the storage segment. The MX-NANO ZIF 120 GB model (MXSSD1MNANOZ-120G) is available here in Germany at several online retailers priced at around 200 Euros. Not cheap compared to a speedy SATA SSD drive, but inexpensive in terms of how uncommon and rare this form factor is. And of course the drive is way cheaper than what I paid for the first-gen Samsung SSD back in 2008. :)
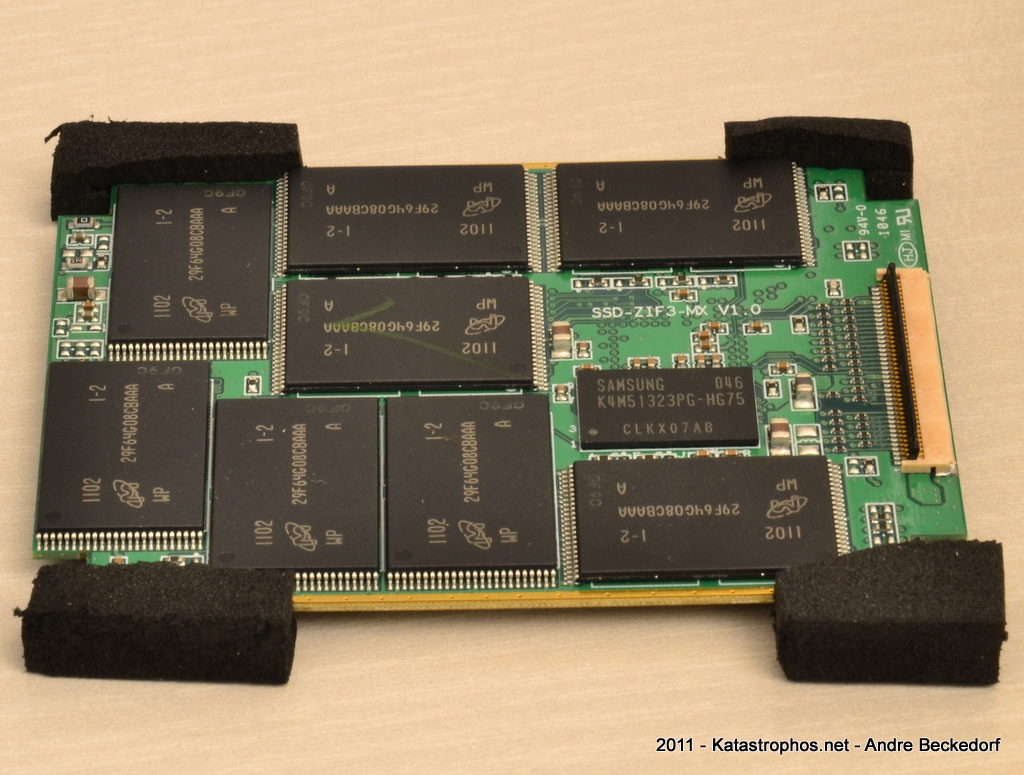
The Eastwho EWS720A controller used in the drive seems to be a solid performer with very good performance figures for what is possible in terms of the old PATA interface. The drive uses 25nm Intel/Micron MLC flash memory (29F64G08CBAAA).
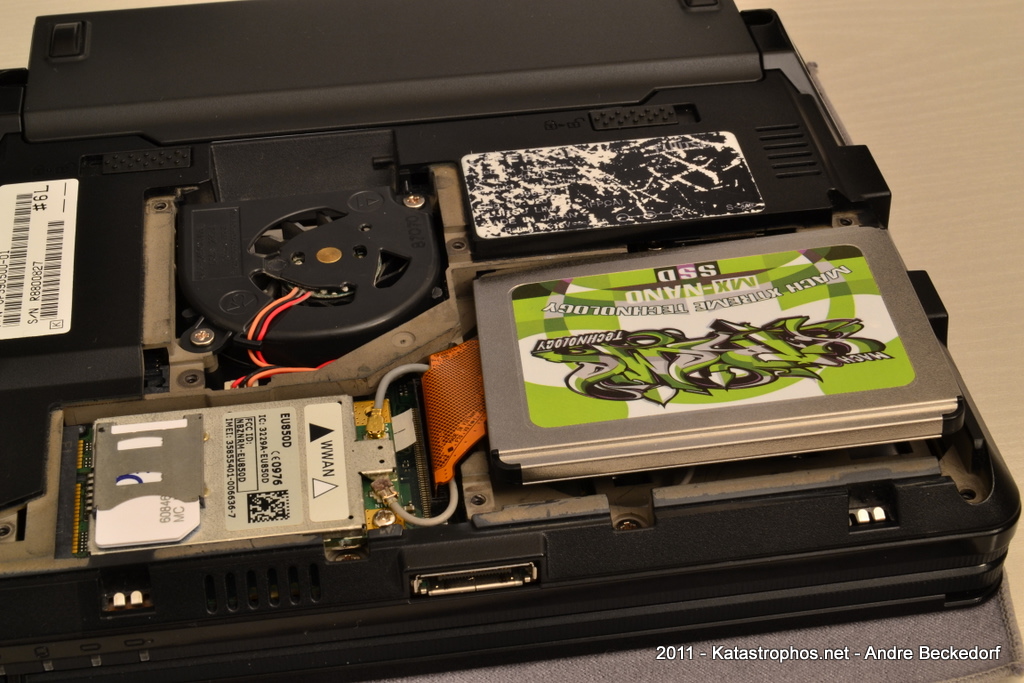
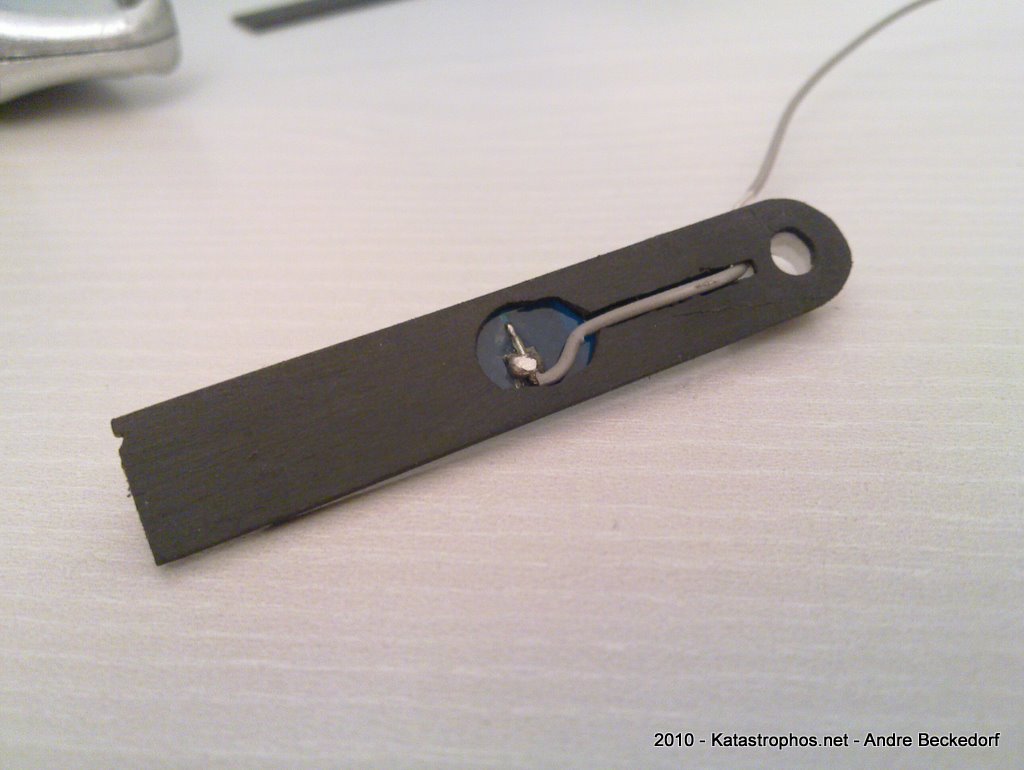
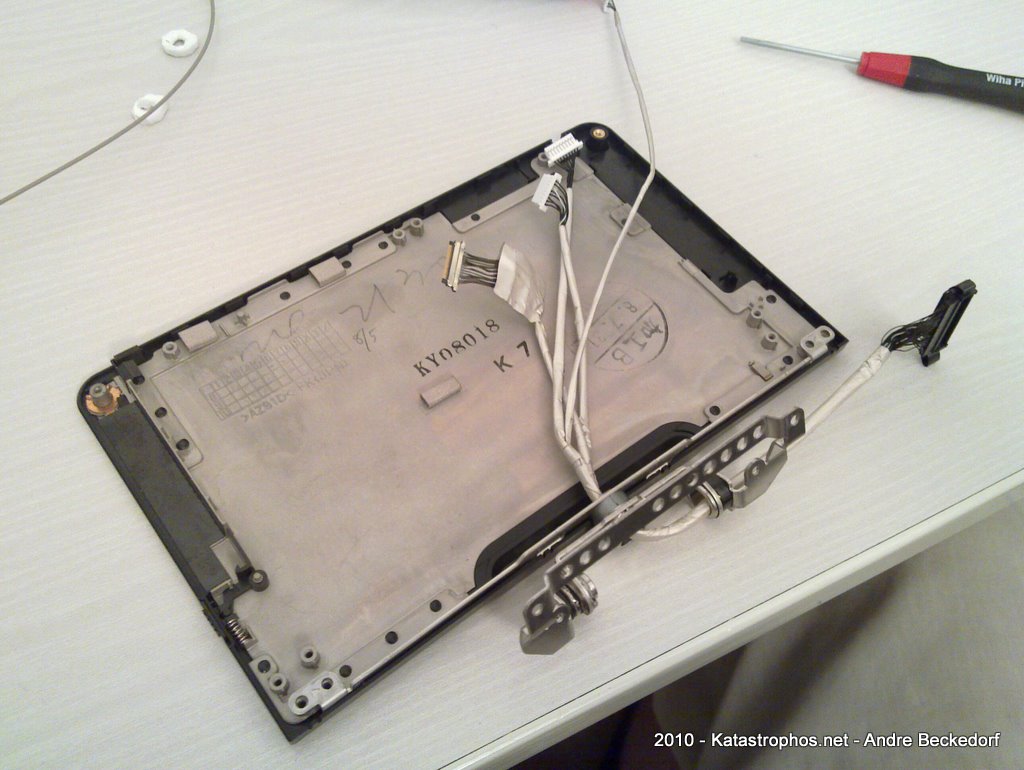
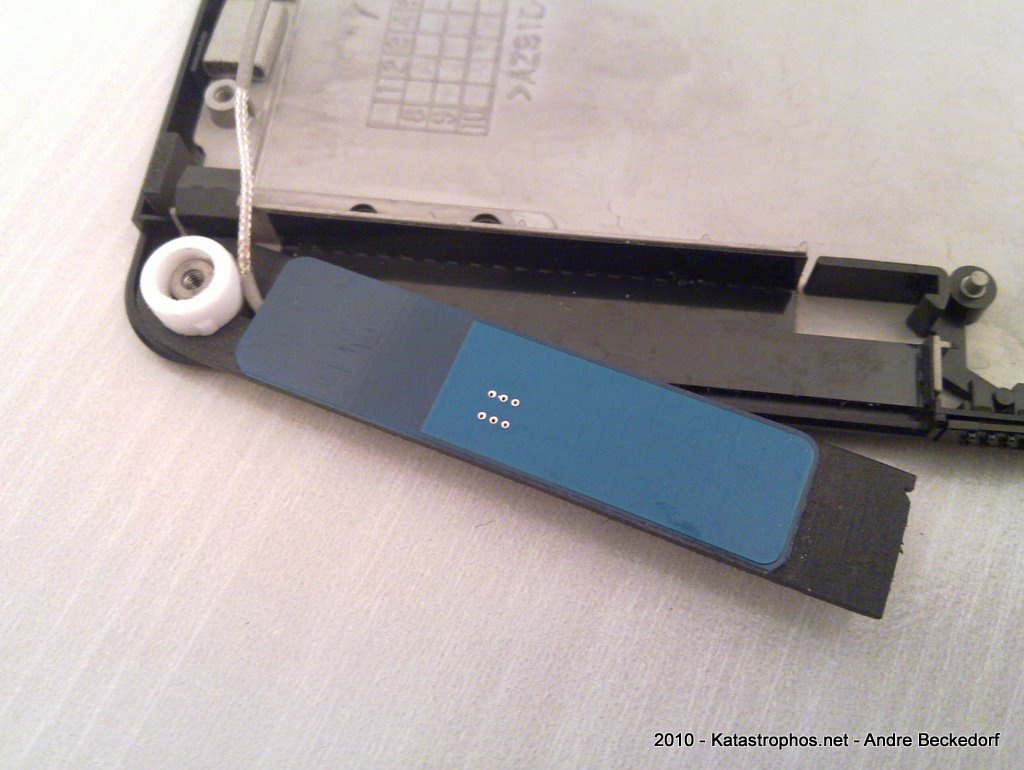
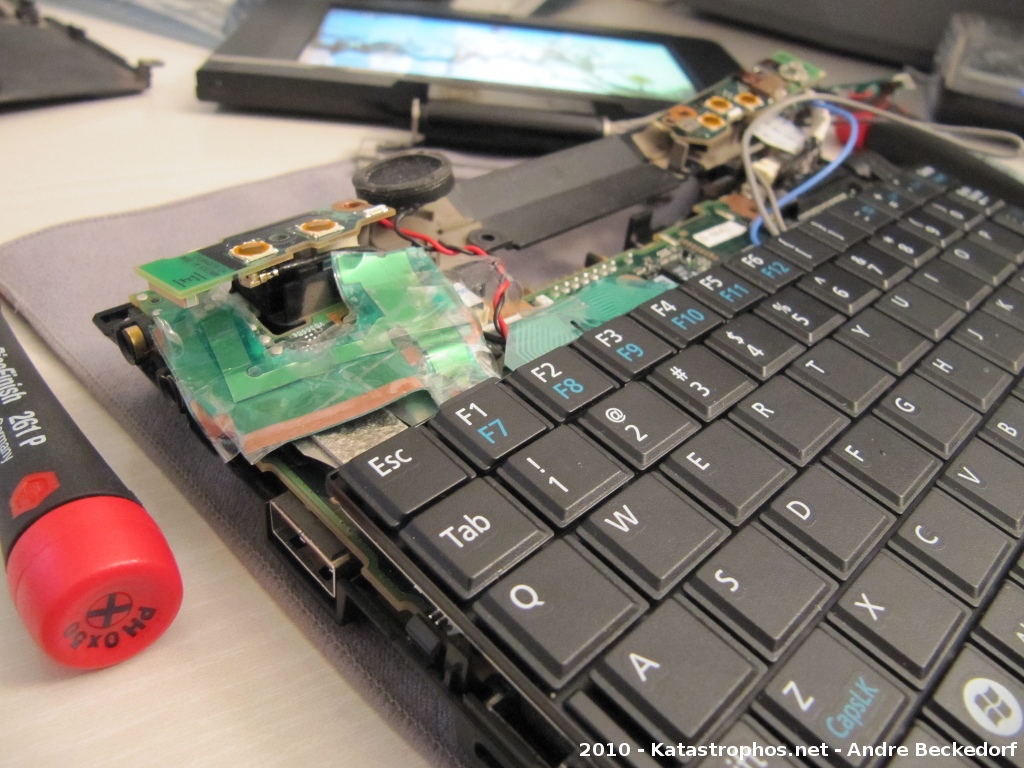
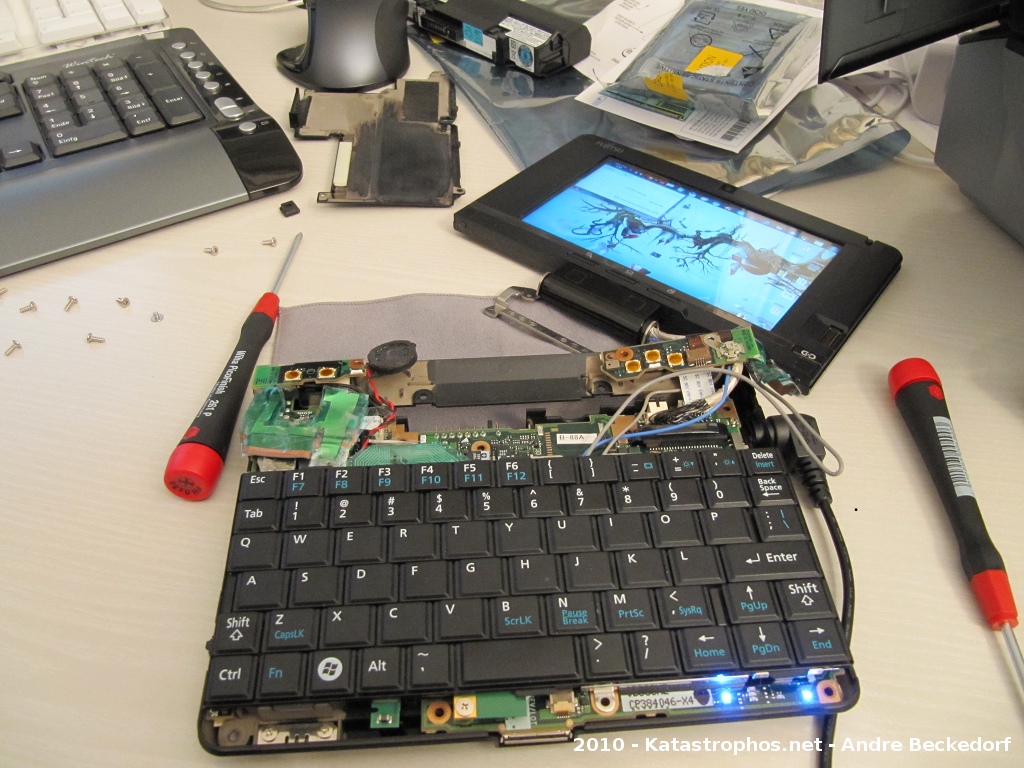
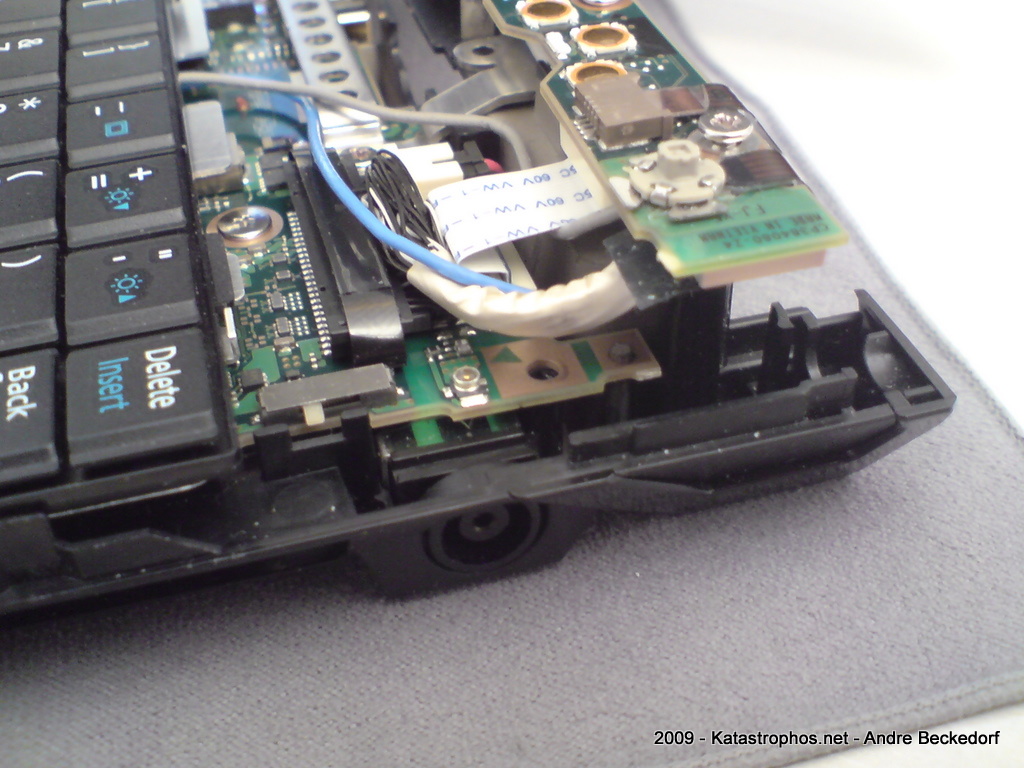
The big problem with this drive is the very unfortunate alignment of the ZIF socket. Unlike any other 1.8″-drive I came across, this drive has to be installed upside-down due to the idiosyncratically flipped ZIF socket. I can only assume this drive was mainly designed as replacement disk for the last-gen iPods or first-gen MacBook Airs. The drive per se will not fit into the Fujitsu U2010 without modification. This is probably true for a lot of other UMPC and netbook devices, too.
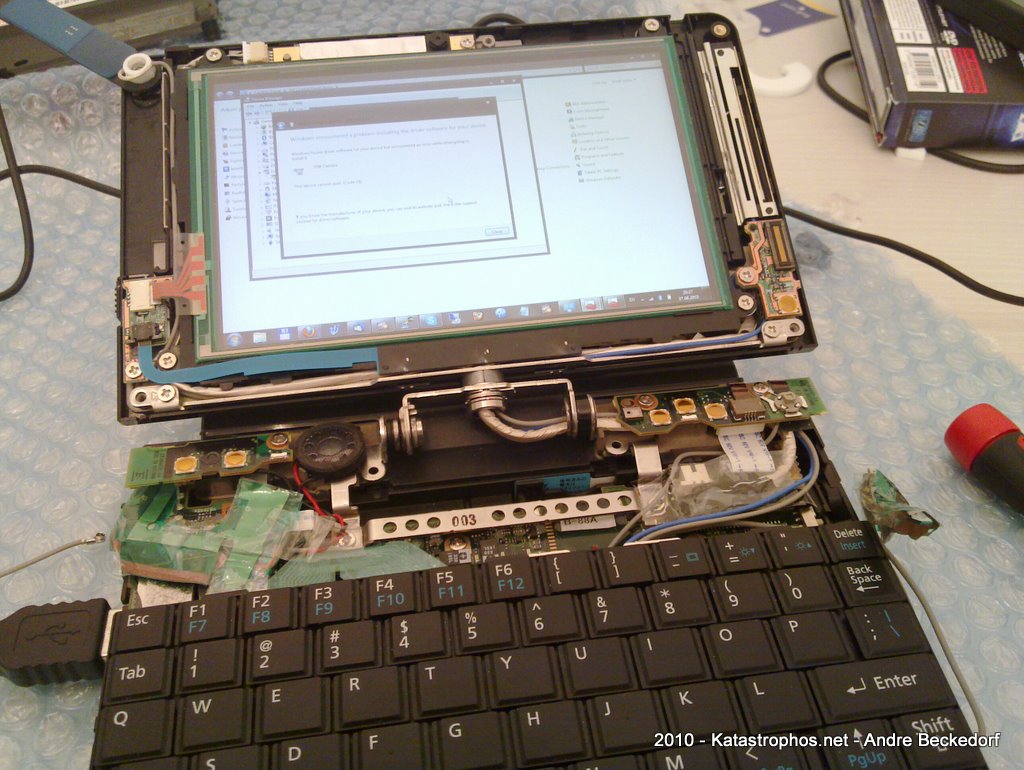
The only way to get the drive installed is to remove the metal enclosure. The flat-ribbon ZIF cable can not be twisted due to its length. Removing the enclosure will ultimately void the warranty as you will have to break the seal on it. That is a risk I am willing to take. Either way, I have been running the drive for more than a month now and had no problems whatsoever. Great performance compared to the old Samsung drive.
Below are some obligatory benchmark screenshots, though I have to mention that Eastwho states that their controllers are not benchmark-friendly due to the techniques they employ to ensure low access times.

Installing Ubuntu 10.10 (Maverick Meerkat) on Fujitsu U820, U2010, U2020

Here are a few notes on how to get the most important hardware of the Fujitsu U820 / U2010 / U2020 working on Ubuntu 10.10 Maverick Meerkat.
Some of the hints might also apply to the Fujistu U810 / U1010 – make sure to ignore step 1 as these devices use the GMA 950 graphics chip which is working perfectly out of the box.

1. Installing the Intel GMA 500 graphics driver

The Ubuntu Wiki has all the necessary information here.

Basically one just needs to do as follows:

sudo add-apt-repository ppa:gma500/ppa 
sudo apt-get update
sudo apt-get install poulsbo-driver-2d poulsbo-driver-3d poulsbo-config

UPDATE: The following step is no longer required.

Unfortunately the version as of this writing does not support Compiz and thus you won’t get any of the funky special effects. However, there is a workaround available as described in the Ubuntu Wiki:

wget http://dl.dropbox.com/u/1338581/poulsbo/poulsbo-config_0.1.2%7E1004um3_all.deb
sudo dpkg --install poulsbo-config_0.1.2~E1004um3_all.deb
sudo apt-get install compiz

2. Installing the Fujitsu Buttons driver (fjbtndrv)

In order to get the buttons and auto-rotation functionality working we will need to compile and install the latest version of fjbtndrv.
The most current version as of this writing is 2.2.1. Please make sure you download the latest version here.

sudo apt-get install libxrandr-dev libxtst-dev libxi-dev libhal-dev
wget http://sourceforge.net/projects/fjbtndrv/files/fjbtndrv/2.2.1/fjbtndrv-2.2.1.tar.gz/download
tar xvzf fjbtndrv-2.2.1.tar.gz
cd fjbtndrv-2.2.1
./configure
make
sudo make install

3. Installing the Fujitsu Touchscreen driver

The touchscreen is working somewhat with the included evdev driver. I could not find a way to calibrate the touch screen via xinput etc. So I went back to using zmiq2‘s touch screen driver available here.
Version 0.3.7 won’t compile because some important USB functions were renamed in kernel 2.6.35.
Straight from the kernel 2.6.35 changelog:

USB: rename usb_buffer_alloc() and usb_buffer_free() users

For more clearance what the functions actually do,

usb_buffer_alloc() is renamed to usb_alloc_coherent()
usb_buffer_free() is renamed to usb_free_coherent()

So, one either needs to patch the fujitsu_usb_touchscreen.c manually and replace every occurrence of the aforementioned function names or we just move on and use the already patched version provided by nerd65536. I mirrored the file he posted to the hosting service linked to in the comments section of zmiq’s blog post.

wget http://katastrophos.net/downloads/fujitsu-usb-touchscreen-0.3.8.tar.gz
tar xvzf fujitsu-usb-touchscreen-0.3.8.tar.gz
cd fujitsu-usb-touchscreen-0.3.8
make
sudo make install

In order to have the auto-rotation functionality of fjbtndrv working with the fujitsu-usb-touchscreen driver we need to add a new startup item: Click on System -> Preferences -> Startup Applications and click Add. Enter following

    Name: Fujitsu Touchscreen Auto-Rotation
    Command: /usr/bin/fujitsu-touchscreen-rotate.py
    Comment: 

Click Add and Close the preferences dialog.

Finally, reboot the system.
Enter the BIOS and make sure that the setting Advanced -> Miscellaneous Configurations -> Touch Panel Setting is set to Tablet, ie. the same setting that is required to use the Tablet functionality in Win XP Tablet, Vista or Seven.

3.1. Calibrating the touchscreen

Once the system has booted and you are back on the Gnome desktop, start a Terminal session and run

fujitsu_touchscreen_calibration.py

to calibrate the touchscreen. Click on any corner of the visible screen (repeat a few times) and press the S key to save the settings.

3.2. Configuring the Right-Click feature

In order to get the feature “right-click by press and hold” go to System -> Preferences -> Mouse, click the tab “Accessibility” and check the option “Trigger secondary click by holding down the primary button“.

4. Fixing the repeating sound issue

If you are experiencing the Ubuntu startup jingle repeating over and over again, the snd_hda_intel module might have problems coping with the ALC269 chip in your device. In this case run the following command:

sudo gedit /etc/modprobe.d/alsa-base.conf

and add the following line to the end of the file:

options snd-hda-intel enable_msi=0

Save and finally reboot the system.

Replacing the hinge and LCD back cover of a Fujitsu LifeBook U2010 / U820

I recently had to replace the hinge on my Fujitsu U2010, not because the hinge itself broke, but rather because I damaged the cable on one of my recent hacks. Fortunately I only damaged a part of the USB cable that connects the webcam to the mainboard. However, the cable harness is contained in the display hinge and can not be replaced separately, so I had to buy the whole part.
The replacement procedure is quite involving and delicate. While I was at it I also replaced the back cover of the display on my unit and replaced the pink back cover (my U2010 is a second hand unit) with a beautiful black cover. However, the particular cover I bought was from the US 3G version of the U820 – the one with the retractable antenna. I was not able to find the antenna assembly part so I had to brew my own…

Intel 5300 AGN WiFi in Fujitsu U2010/U820

I recently replaced the Atheros WiFi card in my Fujitsu U2010 with an Intel 5300 AGN half-sized Mini-PCIe card. The default Atheros Wifi card in the Fujitsu does not support MIMO and 802.11n on the 5 GHz band. This is a real let-down for a (draft-)N card.
Luckily the Intel 5300 AGN is one of the very few cards that are available in the half-sized Mini-PCIe form factor, so it fits into the Fujitsu U2010 and U820.

The process is quite involving and not for the faint of heart. Here are some snapshots of the process:

Some of the pictures show my 3G/HSDPA mod.
Also check out the interesting forum thread over at pocketables.

Quick-and-dirty DIY 19″ rack

Why buy an expensive 19″ rack when you can build it yourself for 8 Euro and a bit of work?

There is no magic here. The ingredients are really simple actually: A few pieces of wood, screws and glue.
The construction is rigid. No angles are required due to self-stability of the quadratic frames. Just make sure the inner length of each edge is exactly 19″ (48.26 cm). Glue and screw the pieces together and that’s it.

Retrofitting the Fujitsu LifeBook U820/U2010 with 3G/UMTS/HSDPA

So, I replaced my U810 with the newer U2010 model a few weeks back. Contrary to the U810 the U2010 has an empty and functional Mini PCI-E slot. I am using the O2 Internet-Pack L plan here in Germany a lot and tethered my Sony Ericsson K850 with the U810 before, which was quite a problem since this setup used to drain the batteries of my mobile phone quite fast due to UMTS/HSDPA + Bluetooth connectivity. I figured an internal solution would work better in my case. :)
The Novatel Expedite EU850D Mini PCI-E card seems like a good fit since it already includes a SIM card slot on board and is readily available via several retailers.
The big problem with this solution however is the fact that the U2010 is so crammed internally that it is hard to add any new conventionally available antennas. The device already has six antennas: two for Wifi, two for GPS, one for Bluetooth and one for the FM Transmitter. However I was not able to use any of these without sacrificing the functionality of these connectivity options.
Some retailers offer antennas with the module which are to be installed in the display lid and are too big to fit into the casing of the U2010. I refrained from opening up the lid and was looking for a different solution instead:
Why not use the same antenna a mobile phone uses?
As luck had it, a friend of mine had a broken Sony Ericsson K800i lying around, which I took apart and removed the antenna assembly from. You can also get the whole assembly as replacement part from several dealers at eBay. Fortunately the antenna is a film based one which can be stripped away from the plastic part it is fixed on. Due to the flexible form of the antenna you are free to place it almost anywhere in the case.
So I got an antenna cable with a Hirose U.FL / IPAX pigtail and soldered the other end of the cable onto the copper pads of the film antenna.

If you intend to do the same here is a word of warning: Be sure to use a placement inside the casing that is not covered by the silvery radiation shield coating as it will dramatically reduce the reception quality of the signal. I had to sand down some of the coating to get better signal strength. Your mileage may vary.

Upgrading the Fujitsu U810 with 64GB SSD

I recently decided to upgrade my Fujitsu U810 with a solid state drive.
Unfortunately, since the U810 only offers a PATA interface the options are quite limited to just a few high-priced (compared to SATA) 1.8″ SSD models by either Samsung, Sandisk (SanDisk SSD UATA 5000, discontinued) or MTRON (MSD-PATA3018-032-ZIF2 et al.).
I went for a 64 GB SLC drive manufactured by Samsung. The exact model name is MCCOE64GEMPP. The same 1.8″ PATA-drive is available as bulk version without the metal enclosure that is protecting the PCB: MCCOE64GQMPQ

Here are some photos of the drive itself and how to install it in the U810. Note, the drive is 5 mm high and will fit into the U810 without any modifications.
Also keep in mind that the U1010 has a different connector (50-pin IDE instead of ZIF), so these ZIF-drives will not work here. However, there are reports on UMPC Portal that suggest that it is possible to get a replacement connector flat band cable for the U810 that is the 50pin IDE cable, so I guess it is also possible the other way around for the U1010.


dsc00321dsc00323
dsc00238dsc00324

Here are the obligatory benchmarks comparing the new SSD against the old Toshiba MK1011GAH 100 GB hard drive that was previously installed in the U810:


Toshiba MK1011GAH:

hdtune_info_toshiba_mk1011gahhdtune_benchmark_toshiba_mk1011gah
crystal50crystal100crystal500


Samsung MCCOE64GEMPP:

hdtune_info_samsung_pza064_ssdhdtune_benchmark_samsung_pza064_ssd
crystal50_samsung_pza064_ssdcrystal100_samsung_pza064_ssdcrystal500_samsung_pza064_ssd

Needless to say that applications cold-launch a lot faster with the SSD. (Firefox with 12 add-ons: ~10 s before -> ~6 s after, Chrome: ~3 s before, ~1 s after, Thunderbird: ~8 s before -> ~3 s after).

Startup time was reduced quite a bit but not dramatically. However, returning from sleep and hibernate saw a huge improvement. Unfortunately I can not provide values of the old drive, so no comparison.
I did not notice longer battery run times. However, the whole system runs a lot cooler because the SSD naturally does not produce heat as extensive as the HDD did.

I am satisfied with this upgrade – especially since it has boosted compile-times when working with CodeGear RAD Studio and Delphi – due to the great performance when accessing, reading and writing small files. Your mileage may vary.